
Released on September 17, 2025
Fix Your Broken Blender to Godot Animation Exports: The 2026 Guide
Tired of messy tracks and broken rigs? Master the glTF 2.0 and NLA Editor pipeline to move characters from Blender to Godot 4 flawlessly, every single time.
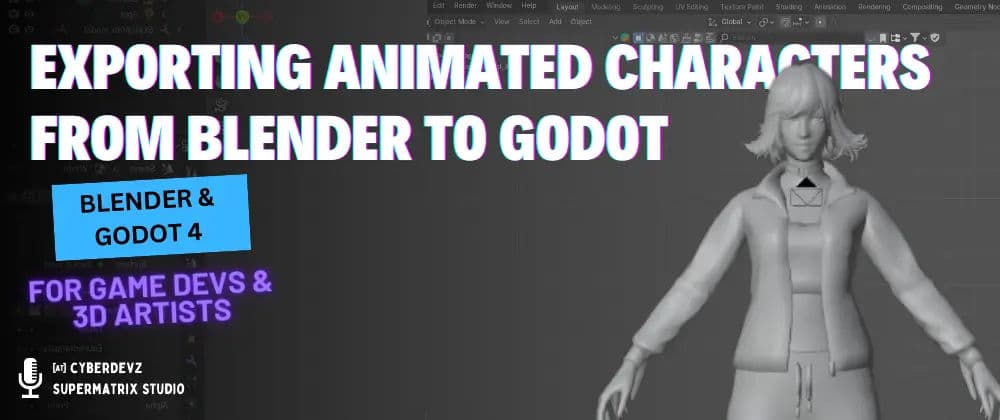
Table of Contents#
- Introduction: The Bridge Between Blender and Godot
- Step 1: The Secret Weapon - Blender's NLA Editor
- Step 2: Pre-Flight Checklist - Cleaning Your Blender Scene
- Step 3: The Perfect Export - Dialing in glTF 2.0 Settings
- Step 4: The Landing - Importing and Verifying in Godot
- Step 5: Beyond Playback - Controlling Animations with AnimationTree
- Conclusion: A Workflow You Can Trust
Introduction: The Bridge Between Blender and Godot #
The pipeline between Blender and Godot is one of the most powerful open-source workflows available for 3D game development.
However, getting complex, animated characters from one to the other can sometimes feel like a black box. You export your model, import it into Godot, and... where did half your animations go? Or why are they all merged into one long, unusable track?
Frustration with this process is common, but it's completely avoidable. By adopting a clean, methodical workflow centered around Blender's Non-Linear Animation (NLA) Editor, you can achieve perfect, predictable results every single time. This guide will show you how.
Step 1: The Secret Weapon - Blender's NLA Editor #
If you take only one thing away from this guide, let it be this: use the NLA Editor. This is the key to separating your animations for Godot.
When you create an animation in Blender's Action Editor, it's just a loose piece of data. The NLA editor is where you organize these actions into distinct, named tracks that the glTF exporter can understand.
- Select Your Armature: Make sure your character's armature is the active object.
- Open the NLA Editor: Switch one of your editor windows to the
Non-Linear Animationeditor. - Push Actions Down: In the Action Editor (or Dope Sheet), select an action you've created (e.g., "RunCycle"). At the top of the NLA window, you'll see your action's name. Click the [Push Down] button. This converts the active action into an "NLA strip."
- Rename the Strip: Double-click the strip in the NLA editor and give it a clear name like
run. This is the name that will appear in Godot. - Repeat for All Animations: Repeat this process for every single animation (
idle,jump,attack, etc.).
Your NLA editor should now have a stack of clearly named strips, one for each animation you want to export.
Step 2: Pre-Flight Checklist - Cleaning Your Blender Scene #
A clean source file leads to a clean export. Before you export, run through this quick checklist:
- Apply Transforms: Select your mesh and your armature in Object Mode. Press
Ctrl + Aand applyAll Transforms. Incorrect scale or rotation on an armature is the #1 cause of weird deformation issues in-engine. - Name Everything: Give your objects logical names.
CharacterMeshandMainArmatureare much better thanCube.017andArmature.003. - Check Action Users: Ensure your actions have a "Fake User" (by clicking the shield icon in the Action Editor) so Blender doesn't discard them if they aren't currently assigned to an NLA strip.
Step 3: The Perfect Export - Dialing in glTF 2.0 Settings #
With your NLA strips organized, you're ready to export. We'll use the glTF 2.0 format, which is Godot's preferred import format.
- Select both your character's mesh and its armature.
- Go to
File>Export>glTF 2.0 (.glb/.gltf). - In the export settings panel on the right, use these settings:
- Format:
glTF Embedded (.gltf)is a good choice as it packs everything into one file. - Include Tab: Check
Selected Objects. - Animation Tab: This is the most critical part.
- Check ✅
NLA Strips: This tells Blender to use your beautifully organized NLA tracks as the source for the animations. - Uncheck ❌
Export all animation actions: Leaving this on can export dozens of unused or test actions, cluttering your Godot import. Let the NLA Strips be your single source of truth.
- Check ✅
- Format:
Step 4: The Landing - Importing and Verifying in Godot #
Drag your exported .gltf file into your Godot project's FileSystem dock. Godot will handle the import.
To verify, double-click the imported scene file. Select the AnimationPlayer node that was automatically created.
In the animation dropdown list at the top of the Animation panel, you should see every single animation, perfectly named according to the NLA strips you created in Blender. Click on each one and press play to ensure they work as expected.
Step 5: Beyond Playback - Controlling Animations with AnimationTree #
While the AnimationPlayer holds the animations, the AnimationTree node is what you'll use to control them in-game. It allows you to create a state machine to transition smoothly between animations.
- Add an
AnimationTreenode to your character scene. - In the Inspector, assign its
Anim Playerproperty to yourAnimationPlayernode. - Set the
Tree Rootto a newAnimationNodeStateMachine. - In the
AnimationTreepanel at the bottom, you can right-click to add your animations (likeidleandrun) as states and create transitions between them. You can then control the state machine from your character's script.
Conclusion: A Workflow You Can Trust #
By making the NLA Editor the central part of your animation process, you transform exporting from a guessing game into a reliable, repeatable workflow. This method ensures that what you see in Blender is exactly what you get in Godot.
Recap of the keys to success:
- Organize all final animations as named strips in the NLA editor.
- Perform a pre-flight check to apply transforms and name objects.
- Export using glTF 2.0 with the
NLA Stripsoption enabled. - Use an
AnimationTreein Godot for robust in-game control.
Adopt this workflow, and you'll spend less time troubleshooting and more time bringing your characters to life.
Continue Reading
Why Your Mobile Game Lags: 3D Asset Optimization in Blender
Stop shipping heavy models. This technical deep-dive reveals the essential Blender checklist for mobile performance, from automated decimation to advanced normal map baking.
Godot 4 PBR Checklist: Get Perfect Blender Materials Every Time
Stop guessing why your materials look different in Godot. This guide covers the exact baking settings and glTF export parameters needed to maintain PBR accuracy from Blender to Godot 4.