
Released on March 21, 2026
Mastering the SpringArm3D in Godot: Never Clip Through Walls Again
Tired of your third-person camera clipping through walls and ruining game immersion? Discover how to use Godot’s SpringArm3D node to build a flawless, collision-aware camera system.

Table of Contents#
- Introduction: The Camera Clipping Nightmare
- What is a SpringArm3D? (The Virtual Selfie Stick)
- Setting Up the Node Hierarchy
- Configuration: Avoiding the Glitches
- Standard Camera vs. SpringArm3D
- Conclusion: Smooth Camera, Happy Players
Introduction: The Camera Clipping Nightmare #
If you have ever built a third-person controller, you know the exact moment the illusion breaks. Your player backs up against a wall, and suddenly, the camera pushes through the geometry. The screen is filled with the ugly, inside-out backfaces of your level, or worse, your camera snaps inside the player character's hollow head.
In Godot, the ultimate solution to this problem isn't a complex raycasting script—it's a built-in node called the SpringArm3D. This guide will walk you through exactly how it works, how to set it up, and how to configure the physics to guarantee a glitch-free camera experience.
What is a SpringArm3D? (The Virtual Selfie Stick) #
The best way to understand a SpringArm3D is to imagine a physical selfie stick attached to your player's back.
A standard Camera3D just sits in empty space at a fixed distance. It doesn't know about the physics world around it. A SpringArm3D, however, actively checks for collisions along its length.

When you attach a camera to the end of this spring arm, the arm extends to its maximum length. But if a wall comes between the player and the camera, the arm detects the collision and automatically "compresses," pulling the camera closer to the player to ensure nothing blocks the view. Once the obstacle is cleared, it springs back out.
Setting Up the Node Hierarchy #
To make this work, the parent-child relationship of your nodes is critical. The camera must be subservient to the spring arm.
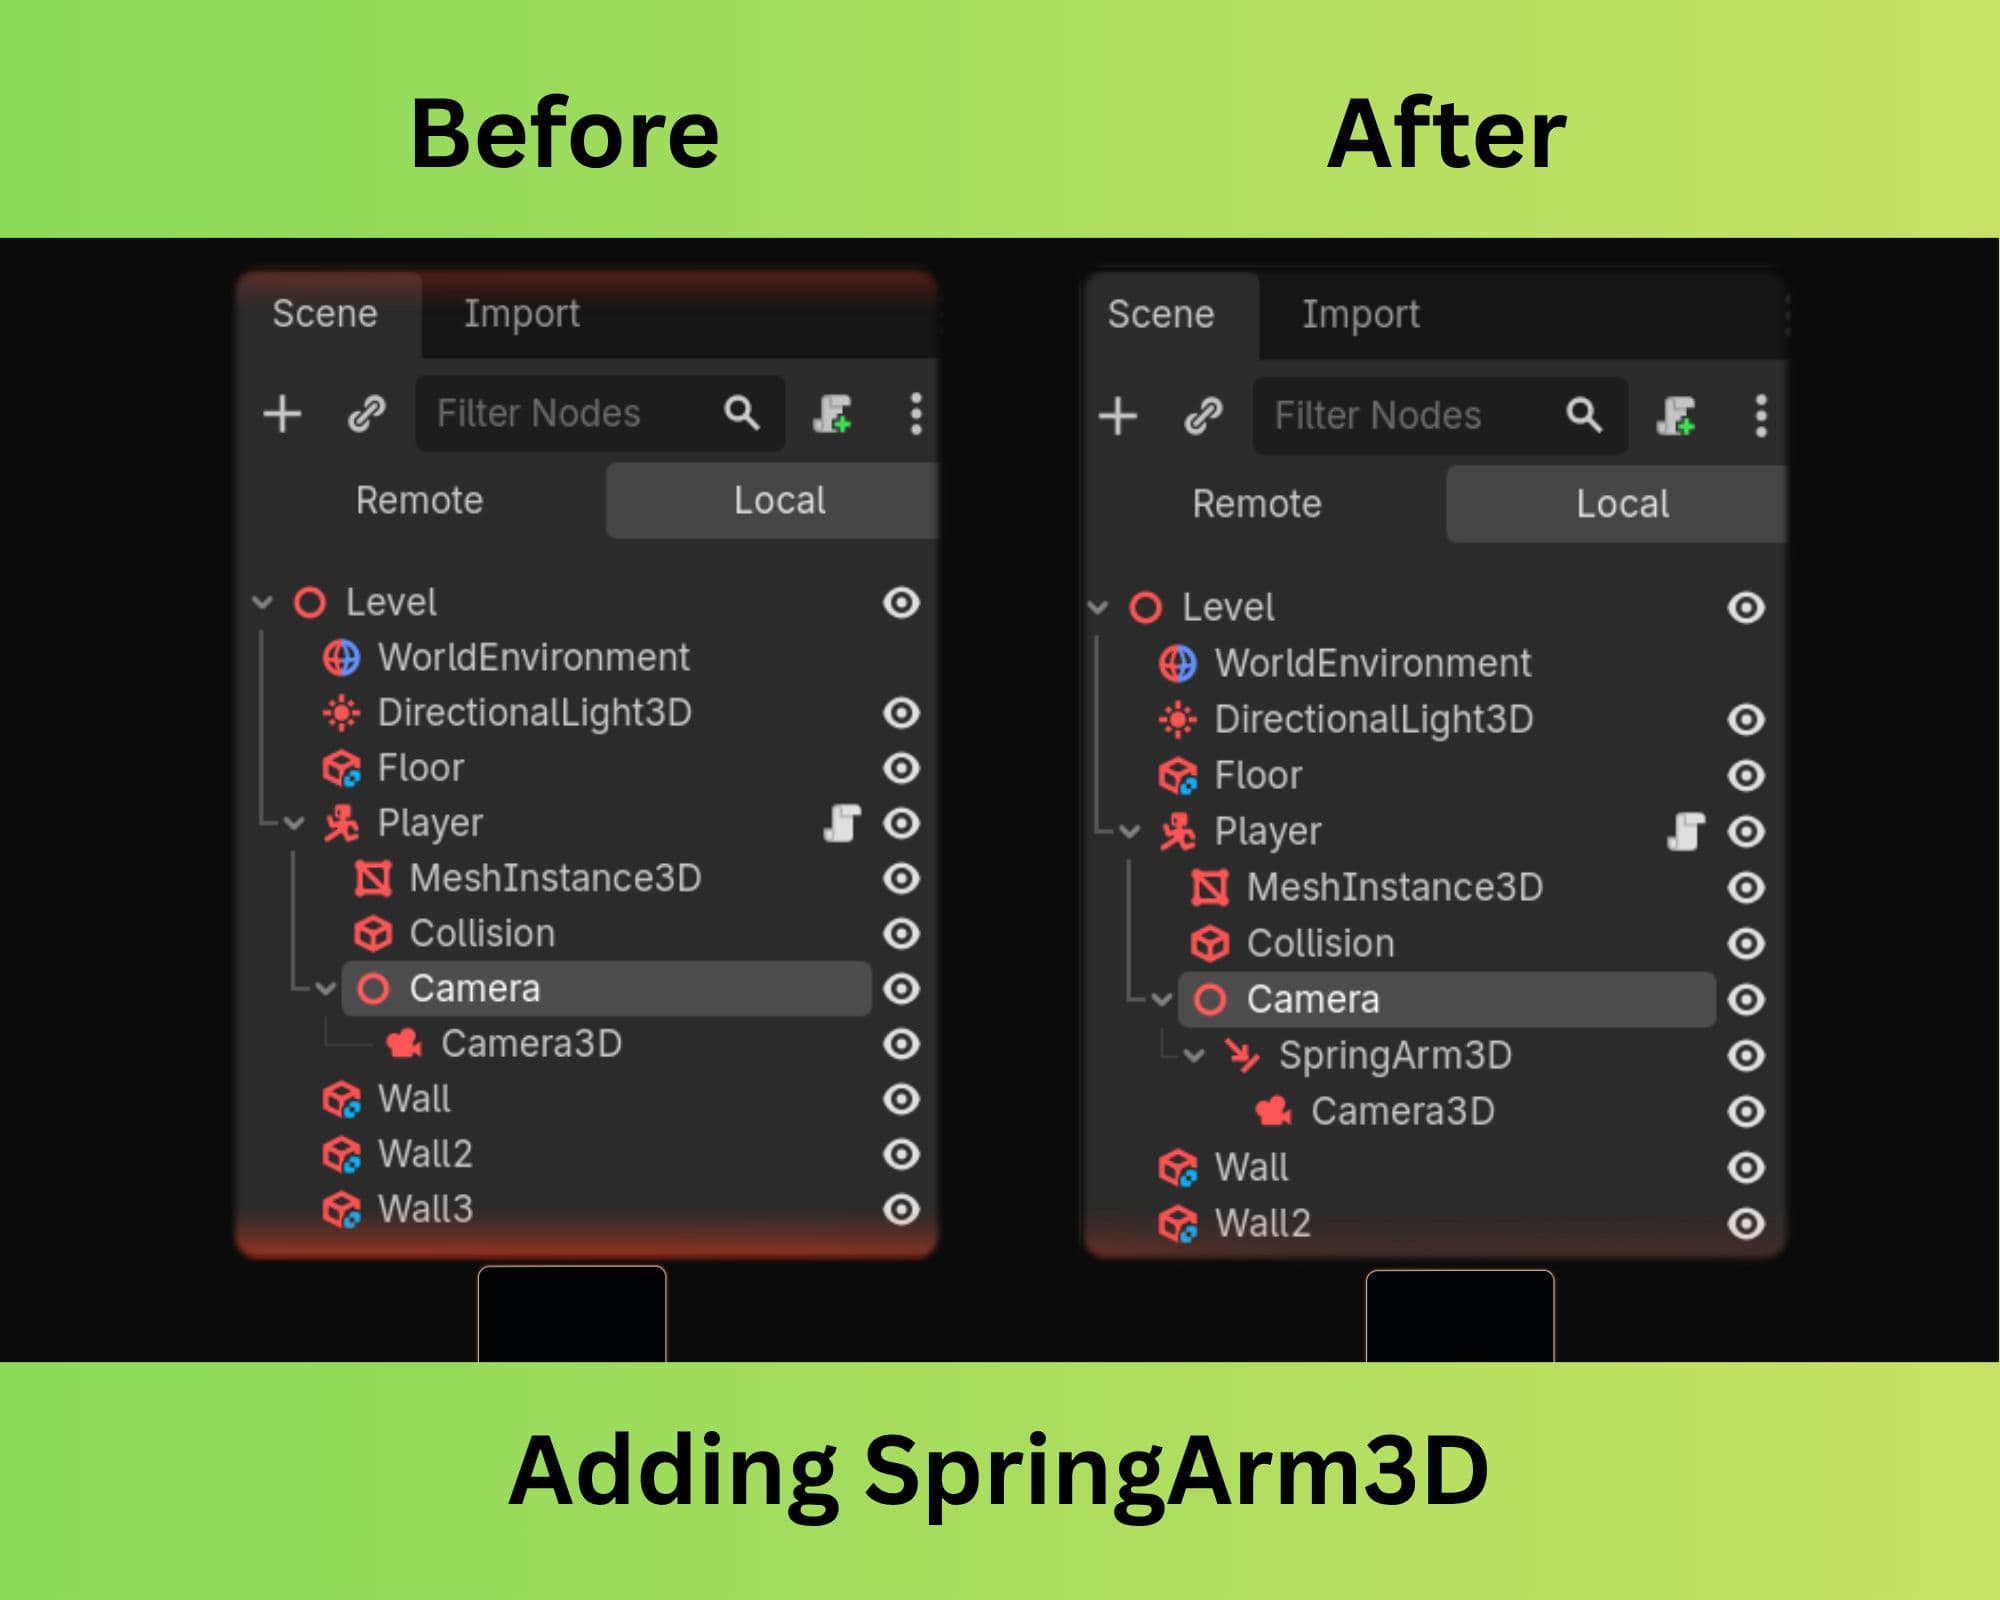
Inside your player scene (typically a CharacterBody3D), structure your nodes like this:
CharacterBody3D (Player)
├── CollisionShape3D
├── MeshInstance3D
└── Camera (Node3D)
    └──SpringArm3D           <-- The pivot point (usually placed at shoulder height)
        └── Camera3D          <-- The actual camera, acting as a child
Crucial Step: Once you parent the Camera3D to the SpringArm3D and parent it to Camera (Node3D), select the Camera (Node3D) and reset its Transform (Position and Rotation) to X: 0, Y: 0, Z: 0. The camera needs to sit exactly at the very tip of the spring arm, letting the arm dictate its distance.

Configuration: Avoiding the Glitches #
Just adding the node isn't enough. If configured incorrectly, the SpringArm will cause just as many glitches as it solves. Here are the exact settings in the Inspector you need to tweak:
1. The Spring Length
This dictates your default camera distance. Set Spring Length to your desired follow distance (e.g., 3.0 to 5.0 meters).
2. The Collision Mask (The Most Common Mistake) By default, the SpringArm checks for collisions on Layer 1. If your player is also on Layer 1, the arm will immediately detect the player's back as an "obstacle" and instantly compress to 0, trapping the camera inside the player.
- The Fix: Go to the SpringArm's
Collision -> Masksettings. Uncheck the physics layer that your player resides on. Ensure the mask is only looking for walls, floors, and environment objects.
3. Shape and Margin (The Anti-Clipping Polish) If your spring arm is just a thin line, the camera might still clip slightly when scraping alongside walls, especially if the wall has an irregular mesh.
- Shape: In the Inspector, assign a
SphereShape3Dto the SpringArm. This gives the camera physical "bulk," ensuring it stays a set radius away from any wall. - Margin: Increase the
Marginproperty slightly (e.g.,0.1or0.5). This forces the camera to stop a fraction of a meter before it physically hits the wall geometry, preventing split-second visual clipping.

Standard Camera vs. SpringArm3D #
Let's break down why this node is practically mandatory for 3D action games.
| Feature | Standard Camera3D (Child of Player) | SpringArm3D setup |
|---|---|---|
| Wall Handling | Clips straight through geometry. | Retracts smoothly to avoid occlusion. |
| Physics Awareness | None. Completely blind to the world. | Uses raycasting and shapes to detect the environment. |
| Setup Complexity | Drag and drop. | Requires configuring collision masks and shapes. |
| Game Feel | Amateur/Broken in tight spaces. | Professional, AAA-quality camera behavior. |
| Best For | Fixed-angle views (Isometric), First-Person. | Third-Person action, RPGs, Platformers. |
Conclusion: Smooth Camera, Happy Players #
Camera handling can make or break a game. A bad camera leads to motion sickness and frustration, but a great camera goes completely unnoticed.
By utilizing the SpringArm3D, giving it a physical shape, and carefully managing your collision layers, you instantly elevate your game's polish. The engine does all the heavy mathematical lifting of calculating intersection points and lerping the distance, leaving you free to focus on designing great levels for that camera to explore.
Continue Reading
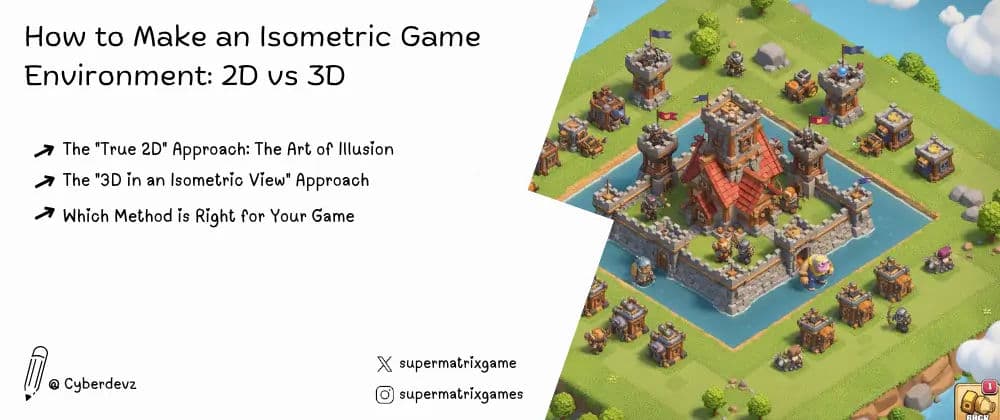
How to Make an Isometric Game Environment: 2D vs 3D
Explore the two main workflows for creating classic isometric worlds. We compare the "True 2D" sprite-based approach with the modern "3D-as-isometric" method, with examples like Clash of Clans.
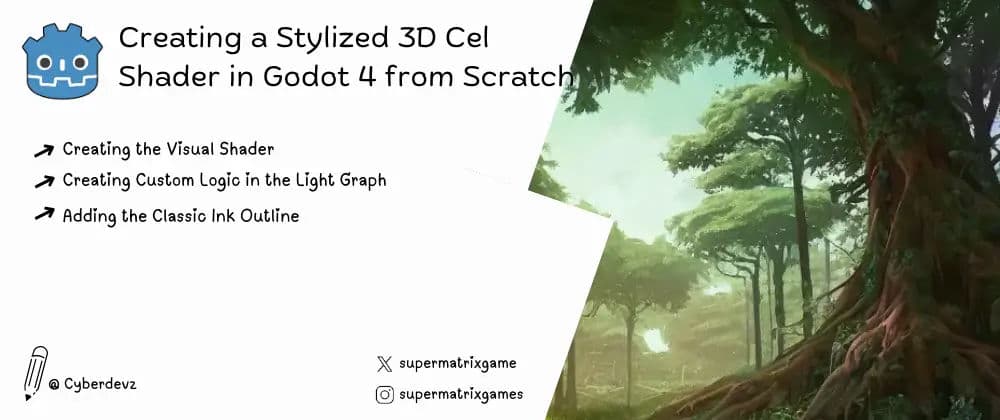
Godot 4 Anime Shader: The Definitive Cel Shading & Outline Guide
TAchieve the perfect professional anime look. This step-by-step masterclass covers custom cel shading and high-quality outlines in Godot 4 using the Visual Shader editor.