
Released on September 16, 2025
Creating a Simple Inventory System for a 2D RPG in Godot
Learn to build a foundational RPG feature from scratch. This tutorial guides you through creating a flexible inventory system in Godot 4 using custom Resources, Singletons, and dynamic UI.
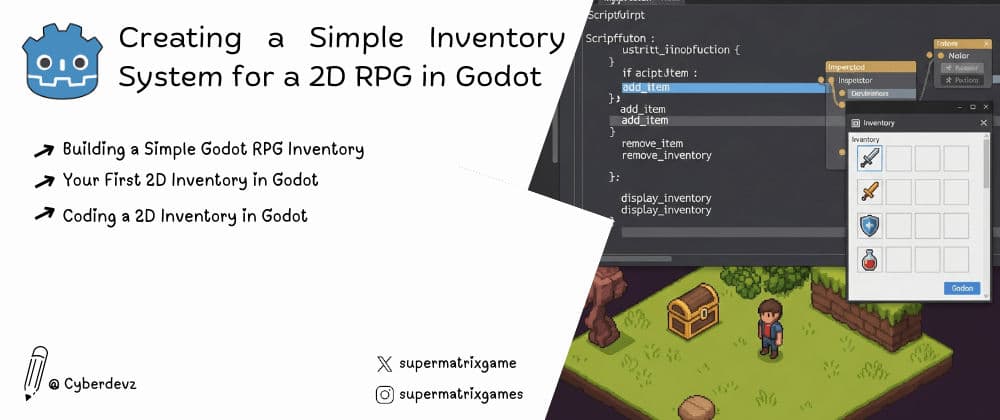
Table of Contents#
- Introduction: The Heart of Every RPG Adventure
- Step 1: The Blueprint - Defining Items as Resources
- Step 2: The Brains - A Global Inventory Manager (Singleton)
- Step 3: The Visuals - Designing the Inventory UI Scene
- Step 4: Connecting Data to Display - Making the UI Dynamic
- Step 5: Making it Real - Picking Up Items in the Game World
- Conclusion: Your Foundation for a Grand Adventure
Introduction: The Heart of Every RPG Adventure #
What's an RPG without treasure to loot and potions to hoard? An inventory system is one of the most fundamental features of any role-playing game. It acts as the bridge between the game world and the player's progression, holding everything from legendary swords to mundane keys.
Building one might seem daunting, but Godot 4 provides all the tools we need to create a system that is both simple and powerful. This guide will walk you through building a complete inventory system, separated into two key parts: the backend data management and the frontend user interface. Let's start crafting!
Step 1: The Blueprint - Defining Items as Resources #
Before we can store items, we need a way to define what an "item" is. The best way to do this in Godot is with a custom Resource. Resources are data containers that can be saved and loaded easily.
- Create a new script and name it
ItemData.gd. - Make it inherit from
Resource. - Add exported variables for the item's properties.
# ItemData.gd
class_name ItemData
extends Resource

@export var item_name: String = ""
@export_multiline var description: String = ""
@export var texture: Texture2D
@export var stackable: bool = false
Now, in the FileSystem dock, you can right-click, select Create New... > Resource, and search for ItemData. You can create unique data files for each item in your game (e.g., potion.tres, sword.tres), filling in their properties in the Inspector.
Step 2: The Brains - A Global Inventory Manager (Singleton) #
The player's inventory needs to be accessible from anywhere—the player script, chests, shopkeepers, etc. The perfect tool for this is a Singleton (or Autoload in Godot terms).
- Create a new script called
InventoryManager.gd. - In this script, we'll define an array to hold our items and functions to modify it.
# InventoryManager.gd
extends Node

# A signal to notify the UI when the inventory changes.
signal inventory_changed

var items: Array[ItemData] = []

func add_item(item: ItemData):
    items.append(item)
    inventory_changed.emit()

func remove_item(item: ItemData):
    if items.has(item):
        items.erase(item)
        inventory_changed.emit()
- Now, go to
Project>Project Settings>Autoload. Add yourInventoryManager.gdscript here. This ensures it's always running and globally accessible. You can now callInventoryManager.add_item()from any script in your game.
Step 3: The Visuals - Designing the Inventory UI Scene #
Let's build the part the player will actually see. We'll create a main UI scene and a reusable "slot" scene.
The Slot Scene (InventorySlot.tscn):
- Root Node:
PanelContainer - Child:
TextureRect(to show the item icon) - Child:
Label(to show the item quantity, if stackable)
The Main Inventory UI Scene (InventoryUI.tscn):
- Root Node:
CanvasLayer(so the UI renders over the game) - Child:
Panel(for the background) - Child:
GridContainer(to neatly arrange the slots)
Inside the GridContainer, add several instances of your InventorySlot.tscn. This creates the visual grid for your inventory.
Step 4: Connecting Data to Display - Making the UI Dynamic #
A static UI is no good. We need to make it reflect the data in our InventoryManager.
Attach a script to the root node of your InventoryUI.tscn.
# InventoryUI.gd
extends CanvasLayer

@onready var grid_container = $Panel/GridContainer

func _ready():
    # Connect to the inventory's signal.
    # Now, whenever an item is added or removed, update_ui() is called.
    InventoryManager.inventory_changed.connect(update_ui)

    # Initial UI update.
    update_ui()

func update_ui():
    var slots = grid_container.get_children()
    var inventory_items = InventoryManager.items

    for i in range(slots.size()):
        var slot = slots[i]
        if i < inventory_items.size():
            # If there's an item for this slot, display it.
            var item = inventory_items[i]
            slot.get_node("TextureRect").texture = item.texture
            # (Add logic for label/quantity here)
        else:
            # Otherwise, clear the slot.
            slot.get_node("TextureRect").texture = null
This script gets the list of inventory slots and the list of items from the manager. It then iterates through them, updating each slot's texture to match the corresponding item. By connecting to the inventory_changed signal, the UI updates itself automatically!
Step 5: Making it Real - Picking Up Items in the Game World #
Finally, let's create an item the player can pick up to test the whole system.
- Create a new scene for a pickup item (e.g.,
PotionPickup.tscn). - Use an
Area2Das the root node with aSprite2DandCollisionShape2D. - Attach a script to the
Area2D. Export anItemDatavariable so you can assign a resource to it (like yourpotion.tres).
# PotionPickup.gd
extends Area2D

@export var item: ItemData

func _on_body_entered(body):
    # Assuming your player is in the "player" group.
    if body.is_in_group("player"):
        InventoryManager.add_item(item)
        queue_free() # The item disappears after being picked up.
Connect the body_entered signal of the Area2D to this script. Now, when the player walks over the item, it gets added to the inventory manager, the UI updates automatically, and the item vanishes from the world. It all works!
Conclusion: Your Foundation for a Grand Adventure #
Congratulations! You've successfully built the core of a robust inventory system. By separating data (ItemData resources), logic (InventoryManager singleton), and presentation (UI scenes), you've created a modular system that is easy to expand.
From here, the possibilities are endless. You could add:
- Item Stacking: Modify the
add_itemfunction to check for existing stackable items. - Drag-and-Drop: Implement logic to reorder items within the grid.
- Item Descriptions: Show an item's description when the player hovers over a slot.
You now have a solid foundation. Go forth and fill your game world with treasures to discover!
Continue Reading
Step-by-Step Guide to 2D Character Animation in Godot 4
Bring your 2D characters to life! This beginner-friendly tutorial covers the complete process of creating sprite animations like idle and run using Godot 4’s powerful AnimationPlayer node.
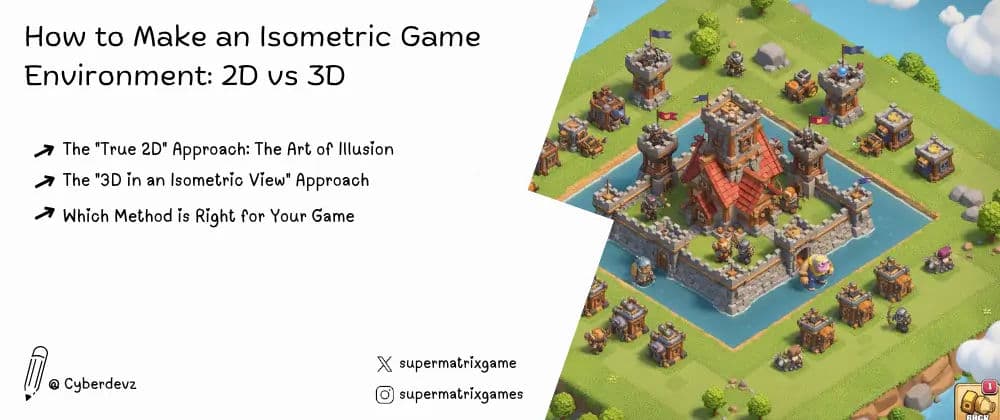
How to Make an Isometric Game Environment: 2D vs 3D
Explore the two main workflows for creating classic isometric worlds. We compare the "True 2D" sprite-based approach with the modern "3D-as-isometric" method, with examples like Clash of Clans.