
Released on September 16, 2025
From Blender to Godot: A Guide to UV Mapping for Perfect Gradients
Struggling to export gradient materials from Blender to Godot? This guide provides a step-by-step workflow using texture atlases and UV mapping to ensure your materials look perfect in-engine, while also optimizing performance.
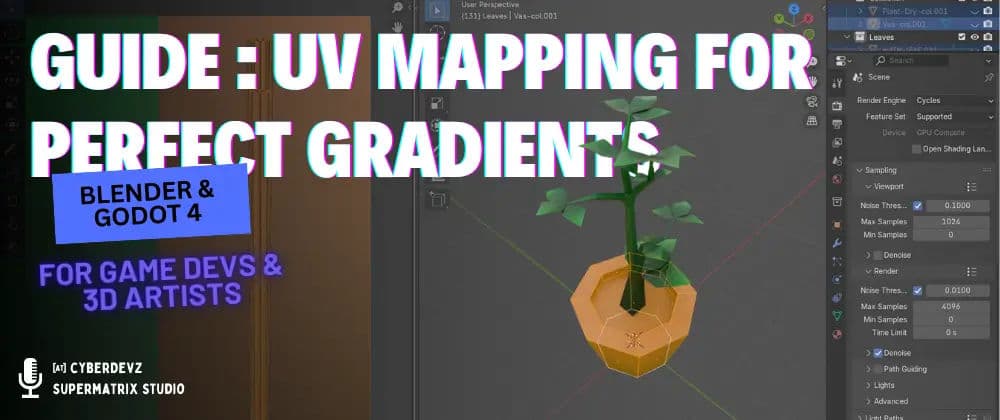
I recently had to deal with a tricky issue while trying to export a 3D plant model from Blender into the Godot 4 game engine. The problem? My gradient materials weren't exporting correctly.
After some trial and error, I found a reliable and efficient workflow that solves this common problem. Here’s a breakdown of the process so you can avoid the same headaches.
Table of Contents#
- Introduction
- Creating the Material
- UV Unwrapping
- Arranging the Islands with the Material
- Exporting in GLB/GLTF Format into the Godot 4 Engine
- Conclusion
1. Introduction #
When you’re creating 3D models in Blender, you often want to use complex materials like gradients to give your objects a unique look. However, exporting these materials can be a real pain. Directly exporting procedural gradients created with shader nodes (like Texture Coordinate and Color Ramp) in formats like GLB/GLTF often fails because the game engine doesn’t know how to interpret them.
The engine only understands simple, solid colors or, more commonly, image textures. My initial attempt to export using procedural materials was a bust, so I had to find a different approach. The solution was to convert my gradients into an image texture and then apply that texture to the model using UV unwrapping. This method is not only reliable but also super optimized for game engines.
2. Creating the Material #
The first step is to create a single image texture that contains all the gradients you want to use. I created a custom image in a separate program like Figma that contained several colored gradient grids. This is basically a cheat sheet for your model’s materials.

Once you have your image, import it into Blender. Then, create a new material for your model and connect your image texture to the Base Color input of a Principled BSDF shader node. This way, your model’s material is now based on a simple, game-engine-friendly image.
3. UV Unwrapping #
Now, each part of your plant model needs to be told which part of that gradient image to use. This is where UV unwrapping comes in. Think of UV unwrapping as flattening a 3D object into a 2D plane, like peeling an orange and laying it flat. This 2D representation is called a UV map. For my plant model, I selected each part individually and used the "Project from View" option in the UV Editor.

This is a quick and effective way to unwrap simple objects like leaves or stems, as it flattens the geometry based on your current camera view. This method is particularly useful when the object is simple and you only need a specific view to be textured correctly.
4. Arranging the Islands with the Material #
After unwrapping, you’ll see the flattened pieces of your model (called UV islands) in the UV Editor. Now, you need to manually arrange these UV islands over the specific gradient grids on your image texture. For example, you’ll drag the UV island for a leaf onto the green gradient part of your texture and the UV island for a flower onto the pink or red gradient.
To apply this material to all parts of your plant model, you can use a handy Blender shortcut: select all the objects you want to link, with the one that has the correct material selected last, and then press Ctrl + L. From the menu that appears, select "Link Materials."
This will connect the material of the last selected object to all the others, ensuring every piece of your plant model uses the same single image texture.
5. Exporting in GLB/GLTF Format into the Godot 4 Engine #
Once all your UV islands are correctly placed on the gradient texture, your model is ready for export. GLB and GLTF are the preferred formats for exporting 3D models to game engines because they bundle the model’s geometry, materials, and textures into a single file.
In Blender, go to File > Export > GLTF 2.0 (.glb/.gltf). Make sure the export settings are correct. The key is that since your material is now a simple image texture, the export process will be successful. When you import this GLB file into Godot 4, your plant model will have its gradients intact and rendered correctly, looking exactly as you intended.
This method is highly optimized because the game engine only has to load one single texture, rather than trying to process complex procedural shaders.
6. Conclusion #
Exporting 3D models with complex materials to game engines can be challenging, but using image textures instead of procedural shaders is a reliable workaround.
By creating a single image texture with your desired gradients, UV unwrapping your model, and arranging the UV islands to correspond with the right part of the texture, you can ensure a smooth and successful export.
This method is not only effective but also highly optimized, making your game assets lightweight and efficient for real-time rendering. So next time you're stuck, remember this trick—it'll save you a lot of time and effort!
Continue Reading
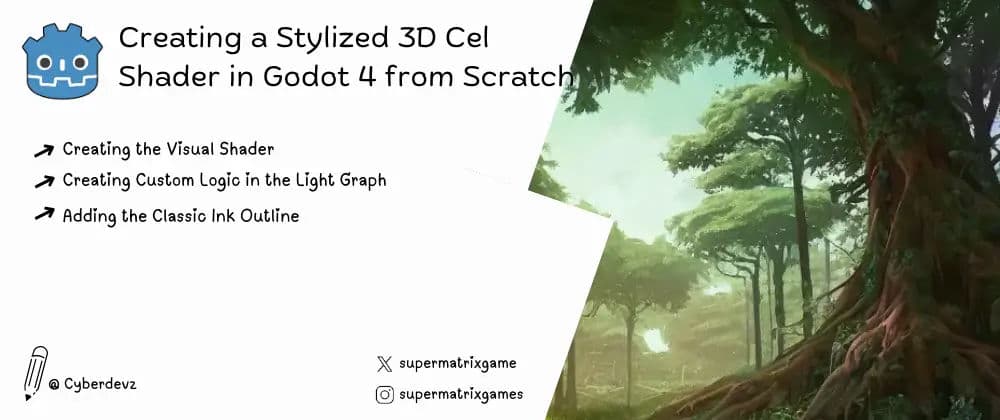
Godot 4 Anime Shader: The Definitive Cel Shading & Outline Guide
TAchieve the perfect professional anime look. This step-by-step masterclass covers custom cel shading and high-quality outlines in Godot 4 using the Visual Shader editor.
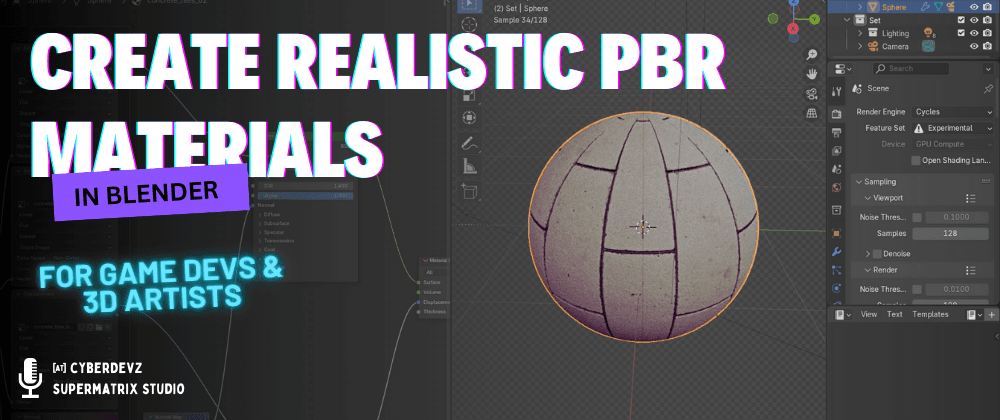
Godot 4 PBR Checklist: Get Perfect Blender Materials Every Time
Stop guessing why your materials look different in Godot. This guide covers the exact baking settings and glTF export parameters needed to maintain PBR accuracy from Blender to Godot 4.