
Released on September 13, 2025
Godot 4 PBR Checklist: Get Perfect Blender Materials Every Time
Stop guessing why your materials look different in Godot. This guide covers the exact baking settings and glTF export parameters needed to maintain PBR accuracy from Blender to Godot 4.
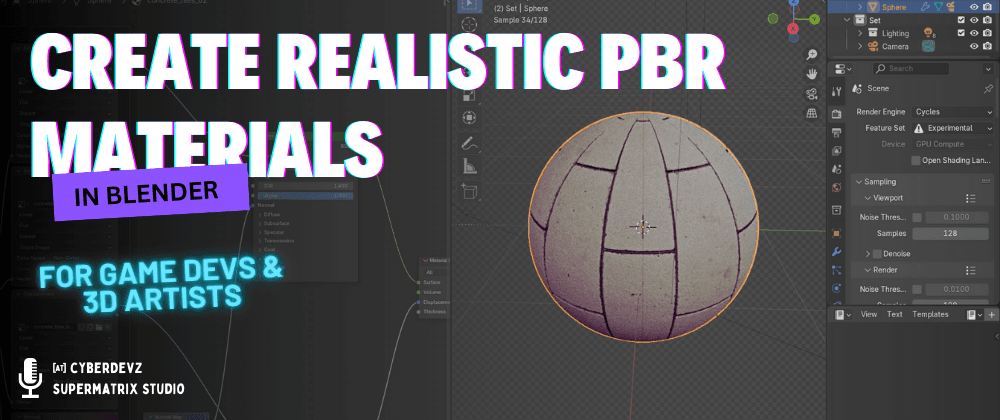
Table of Contents#
- Introduction: The Power of the Blender to Godot Pipeline
- Step 1: Preparing Your Model and UVs in Blender
- Step 2: Building the PBR Material with the Principled BSDF Shader
- Step 3: Baking Textures for Game Engine Performance
- Step 4: Exporting Your Asset with glTF 2.0
- Step 5: Importing and Final Touches in Godot 4
- Conclusion: A Seamless Workflow for Stunning 3D Games
Introduction: The Power of the Blender to Godot Pipeline #
As a 3D game developer, achieving visual realism is often a top priority. Physically Based Rendering (PBR) is the industry standard for creating materials that react to light in a physically plausible way. The combination of Blender's powerful material creation tools and Godot 4's advanced rendering capabilities creates a seamless, open-source pipeline for bringing stunning assets to life.
This guide will walk you through the complete workflow, from setting up a material in Blender to seeing it render beautifully in your Godot 4 project. This process is about creating assets that are not only beautiful but also optimized for real-time performance.
Step 1: Preparing Your Model and UVs in Blender #
Before we can create a material, we need a clean 3D model with proper UVs. UV unwrapping is the process of "flattening" your 3D model's surface into a 2D map, which tells the engine how to apply textures.
- Finalize Your Model: Make sure your model's geometry is complete.
- Mark Seams: In Edit Mode, select edges where you want the UV "cuts" to be (like seams on clothing) and press
U>Mark Seam. - Unwrap: Select the entire model (
A) and pressU>Unwrap. You can view the result in the UV Editing workspace.

A good UV map is crucial because it prevents stretched or distorted textures. Ensure there is minimal stretching and that the UV islands are packed efficiently to maximize texture space.
Step 2: Building the PBR Material with the Principled BSDF Shader #
Blender's Principled BSDF node is an all-in-one shader that includes all the channels we need for PBR. This is where we define the physical properties of our material.
In the Shading workspace, create a new material for your object. You will see the Principled BSDF node connected to the Material Output. Here are the key inputs we'll focus on:
- Base Color: The underlying color of the material (also called Albedo).
- Metallic: A value from 0 (non-metal) to 1 (raw metal). There are rarely in-between values.
- Roughness: Controls how rough or smooth the surface is. A low value gives sharp, clear reflections (like a mirror), while a high value gives diffuse, blurry reflections (like concrete).
- Normal: This uses a special "Normal Map" image texture to simulate fine surface details without adding extra geometry. Connect an
Image Texturenode (with your normal map) to aNormal Mapnode, and then connect that to theNormalinput.a

Step 3: Baking Textures for Game Engine Performance #
While our node setup looks great in Blender, game engines work best with simple image textures. Baking is the process of "printing" the output of our complex material setup into individual texture maps (Base Color, Roughness, etc.).
- Create Target Images: In the Shader Editor, create a new
Image Texturenode for each map you want to bake (e.g., Diffuse, Roughness, Normal). Create a new blank image for each one, ensuring it's not connected to anything yet. Make sure the target image node is selected. - Go to Render Properties: Switch the Render Engine to Cycles.
- Bake: In the
Bakepanel, select theBake Type(e.g.,Diffuse). UnderInfluence, uncheckDirectandIndirectto get only the color. Click Bake. Repeat this forRoughnessand other maps.
This process creates a set of PBR texture maps that perfectly represent your material but are far more performant for a game engine.
Step 4: Exporting Your Asset with glTF 2.0 #
Godot 4 has excellent support for the glTF 2.0 format, which is designed to bundle 3D scenes, including materials and textures. This is the recommended format.
Before exporting, simplify your material. Disconnect your complex node setup and create a new, simple Principled BSDF setup using the baked image textures you just created.
- Go to
File>Export>glTF 2.0 (.glb/.gltf). - In the export settings on the right, under the Format dropdown, choose
glTF Embedded (.gltf). This packs your textures directly into the file. - Under the Data tab, ensure Materials is checked.
- Click Export glTF 2.0.
Step 5: Importing and Final Touches in Godot 4 #
Now for the rewarding part. Simply drag and drop your exported .gltf file directly into your Godot project's file system panel. Godot will automatically import the model and create a new StandardMaterial3D based on the PBR textures you baked.
- Drag the imported scene file into your 3D viewport.
- Select the model and inspect its material in the Inspector dock. You'll see that Godot has correctly assigned your Albedo (Base Color), Roughness, Metallic, and Normal maps.
- Enhance the Scene: For the best results, add a
WorldEnvironmentnode to your scene, create a newEnvironment, and add anHDRIsky for realistic lighting. You can also enable Screen-Space Reflections (SSR) and Glow in the Environment settings to make your material pop.
Conclusion: A Seamless Workflow for Stunning 3D Games #
By mastering this Blender-to-Godot PBR workflow, you can create professional-grade 3D assets that are both visually impressive and optimized for real-time rendering. This pipeline leverages the best of both open-source tools, allowing you to build complex materials in Blender and see them come to life with just a few clicks in Godot 4.
This process empowers indie developers to achieve AAA-quality visuals without a AAA-budget. Now go ahead and start creating your own amazing materials!
Continue Reading
From Blender to Godot: A Guide to UV Mapping for Perfect Gradients
Struggling to export gradient materials from Blender to Godot? This guide provides a step-by-step workflow using texture atlases and UV mapping to ensure your materials look perfect in-engine, while also optimizing performance.
Fix Your Broken Blender to Godot Animation Exports: The 2026 Guide
Tired of messy tracks and broken rigs? Master the glTF 2.0 and NLA Editor pipeline to move characters from Blender to Godot 4 flawlessly, every single time.