
Released on September 14, 2025
Step-by-Step Guide to 2D Character Animation in Godot 4
Bring your 2D characters to life! This beginner-friendly tutorial covers the complete process of creating sprite animations like idle and run using Godot 4’s powerful AnimationPlayer node.
Table of Contents#
- Introduction: Breathing Life into Pixels
- Step 1: Setting Up Your Character Scene
- Step 2: Meet the AnimationPlayer - Your Digital Flipbook
- Step 3: Creating an "Idle" Animation
- Step 4: Building a Multi-Frame "Run" Animation
- Step 5: Triggering Animations with GDScript
- Conclusion: Animation is More Than Just Sprites
Introduction: Breathing Life into Pixels #
A static character is just an image, but an animated character has a personality. In Godot 4, one of the most essential tools for bringing your 2D characters to life is the AnimationPlayer node. While its name sounds simple, it's an incredibly versatile tool that can animate any property of any node, from a sprite's frame to its position, color, or even the volume of a sound effect.
In this guide, we'll demystify the AnimationPlayer by creating two fundamental character animations: idle and run. You'll learn how to set up your scene, create keyframes, and trigger your animations with code. Let's get started!
Step 1: Setting Up Your Character Scene #
First, we need a character to animate. A standard setup for a 2D player character in Godot consists of a few key nodes.
Create a new scene with the following structure:
CharacterBody2D(The root node, for physics and movement)Sprite2D(This will display our character's graphics)CollisionShape2D(Defines the character's hitbox)AnimationPlayer(The node that will handle all our animations)
For your Sprite2D node, you'll need a sprite sheet—a single image file containing all the frames of your character's animations. For this tutorial, we'll assume you have one with frames for an idle and a run cycle. In the Inspector for the Sprite2D, load your sprite sheet into the Texture property.
Step 2: Meet the AnimationPlayer - Your Digital Flipbook #
Select the AnimationPlayer node, and you'll see the Animation panel appear at the bottom of the editor. This is your main workspace.
- Create a New Animation: Click the "Animation" button in the panel and select "New". Name it
idle. - Set the Length: To the right of the animation name, you can set the animation's duration in seconds. For a simple idle,
1second is fine. - Enable Looping: To make the animation repeat, click the "Animation Looping" icon (it looks like a circular arrow).
You've now created an empty animation track, ready to be filled with keyframes.
Step 3: Creating an "Idle" Animation #
Let's make our character breathe or blink. For this, we'll animate the Frame property of our Sprite2D node.
- Select the
Sprite2Dnode. In the Inspector, go to theAnimationsection and set theHframesandVframesproperties to match your sprite sheet's grid. For example, if your sheet is 4 frames across and 2 down, setHframesto 4 andVframesto 2. - With the
AnimationPlayerpanel open and theidleanimation selected, find theFrameproperty in theSprite2D's Inspector. - Click the key icon next to the
Frameproperty. This adds a keyframe at the current time (0.0) on the timeline. Let's say the first idle frame is frame 0. - Move the timeline scrubber to
0.5seconds. Change theFrameproperty to1(assuming this is your second idle frame) and click the key icon again. - Press Play in the Animation panel to see your character's subtle idle animation!
Step 4: Building a Multi-Frame "Run" Animation #
Now for something more dynamic. Let's create a new animation called run.
- In the Animation panel, click
Animation>Newand name itrun. Set its length (e.g.,0.6seconds for a 6-frame run) and enable looping. - Ensure the timeline scrubber is at
0.0. Select yourSprite2D, set itsFrameproperty to the first frame of your run cycle (e.g., frame 4), and click the key icon. - Move the scrubber to
0.1, change theFrameto 5, and add a key. - Move the scrubber to
0.2, change theFrameto 6, and add a key. - Continue this pattern until all your run frames are keyframed.
For smoother workflow, you can change the "Track Update Mode" (the dotted icon next to the track name) to Discrete, which is ideal for frame-by-frame sprite changes.
Step 5: Triggering Animations with GDScript #
Animations are useless if they don't play at the right time. Let's add a simple script to our CharacterBody2D root node to control the animations.
Create a new script and attach it. Here's a basic example:
extends CharacterBody2D

# Get a reference to the AnimationPlayer node
@onready var animation_player = $AnimationPlayer

func _physics_process(delta):
    # A simple check: if the character is moving, play 'run'.
    # Otherwise, play 'idle'.
    if velocity.length() > 0:
        animation_player.play("run")
    else:
        animation_player.play("idle")

    # (Your movement code for getting input and using move_and_slide() would go here)
    # ...
This script checks the character's velocity on each physics frame. If the character has any speed, it plays the "run" animation. If the character is standing still, it switches to the "idle" animation.
Conclusion: Animation is More Than Just Sprites #
You've successfully created and implemented two essential 2D animations! You now have a solid foundation for bringing any character to life.
Remember, the AnimationPlayer is not limited to sprite frames. Experiment with keyframing other properties:
- Animate the
PositionorScalefor a bouncy jump effect. - Animate the
Modulateproperty to make a character flash when taking damage. - Animate a
PointLight2D's energy to make a torch flicker.
The possibilities are endless. Keep experimenting, and soon you'll be creating fluid, expressive characters for your games.
Continue Reading
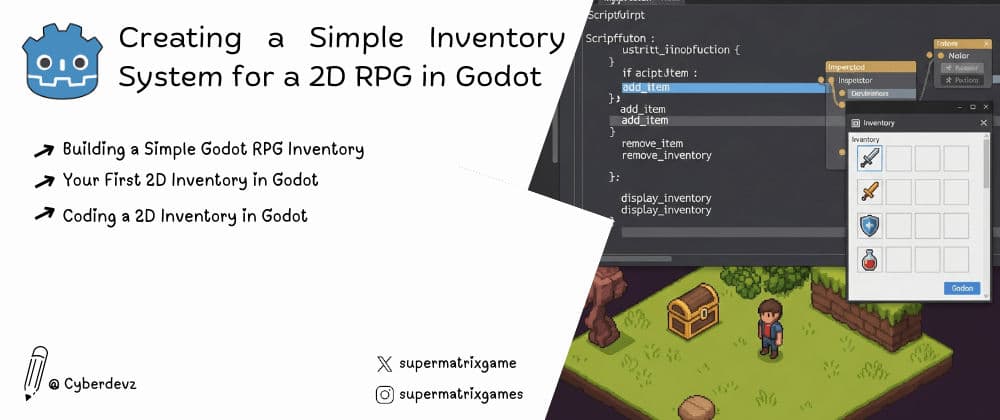
Creating a Simple Inventory System for a 2D RPG in Godot
Learn to build a foundational RPG feature from scratch. This tutorial guides you through creating a flexible inventory system in Godot 4 using custom Resources, Singletons, and dynamic UI.
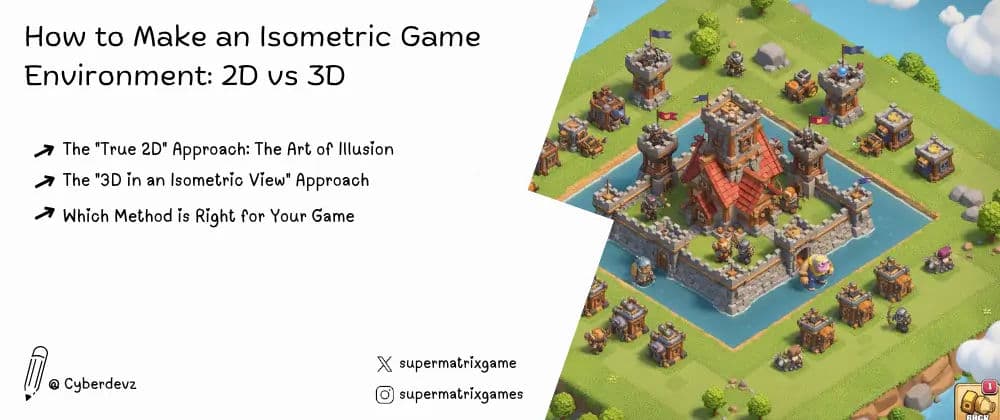
How to Make an Isometric Game Environment: 2D vs 3D
Explore the two main workflows for creating classic isometric worlds. We compare the "True 2D" sprite-based approach with the modern "3D-as-isometric" method, with examples like Clash of Clans.