
.webp&w=1920&q=75)

Welcome to the first lesson of Building a Flappy Bird Clone. In this module, we will establish the foundational architecture of our game. Flappy Bird relies on precise, snappy 2D physics rather than realistic momentum. We will use a CharacterBody2D for complete control over our bird's gravity and jump mechanics.
We will be using Godot 4 and its 2D engine to build this core system.
1. Environment and Project Initialization#
First, create a new Godot 4 project. Let's establish a clean directory structure for our assets and scenes.
Create the following folders in your res:// directory:
- 📁
Assets/(For sprites and audio) - 📁
Scenes/(For levels and UI screens) - 📁
Entities/(For our Bird and Pipes) - 📁
Scripts/(For global autoloads)
Configuring Display Settings#
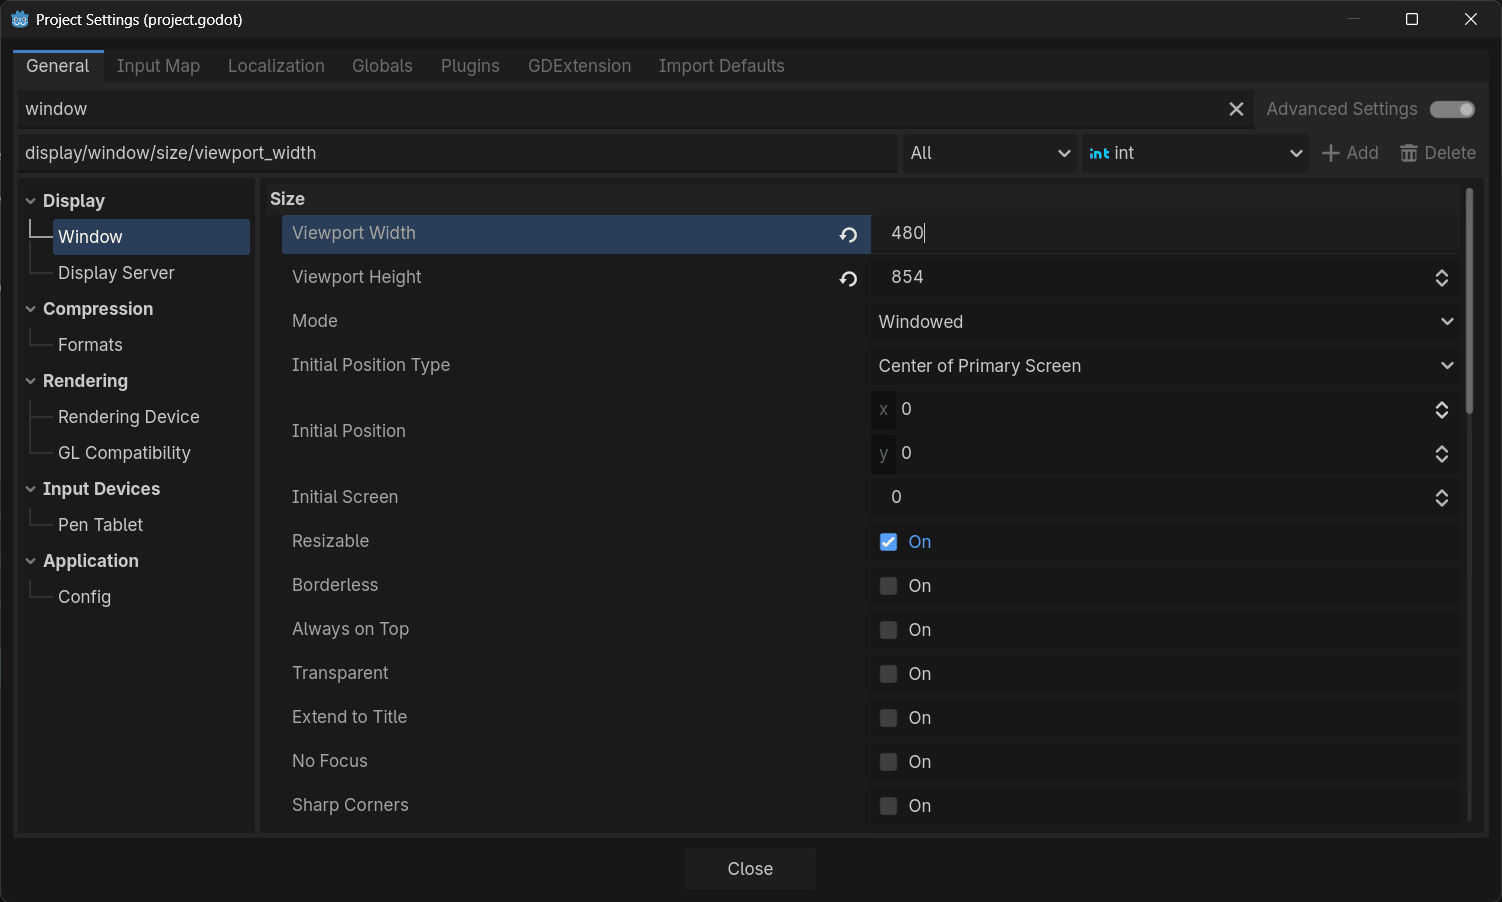
Flappy Bird is a portrait-oriented game. We need to adjust our window size.
- Navigate to Project > Project Settings.
- Go to Display > Window.
- Under Size, set Viewport Width to
480and Viewport Height to854. - Set Stretch Mode to
canvas_itemsand Aspect tokeepso the game scales cleanly on different monitors.
Input Mapping#
We need to map our flap control. In Project Settings > Input Map, add a new action:
flap(Assign this toSpacebarandLeft Mouse Button)
2. Constructing the Bird Entity#
Create a new scene with a CharacterBody2D as the root node and name it Bird. This node is ideal because it gives us absolute control over vertical velocity without fighting an automated physics engine.
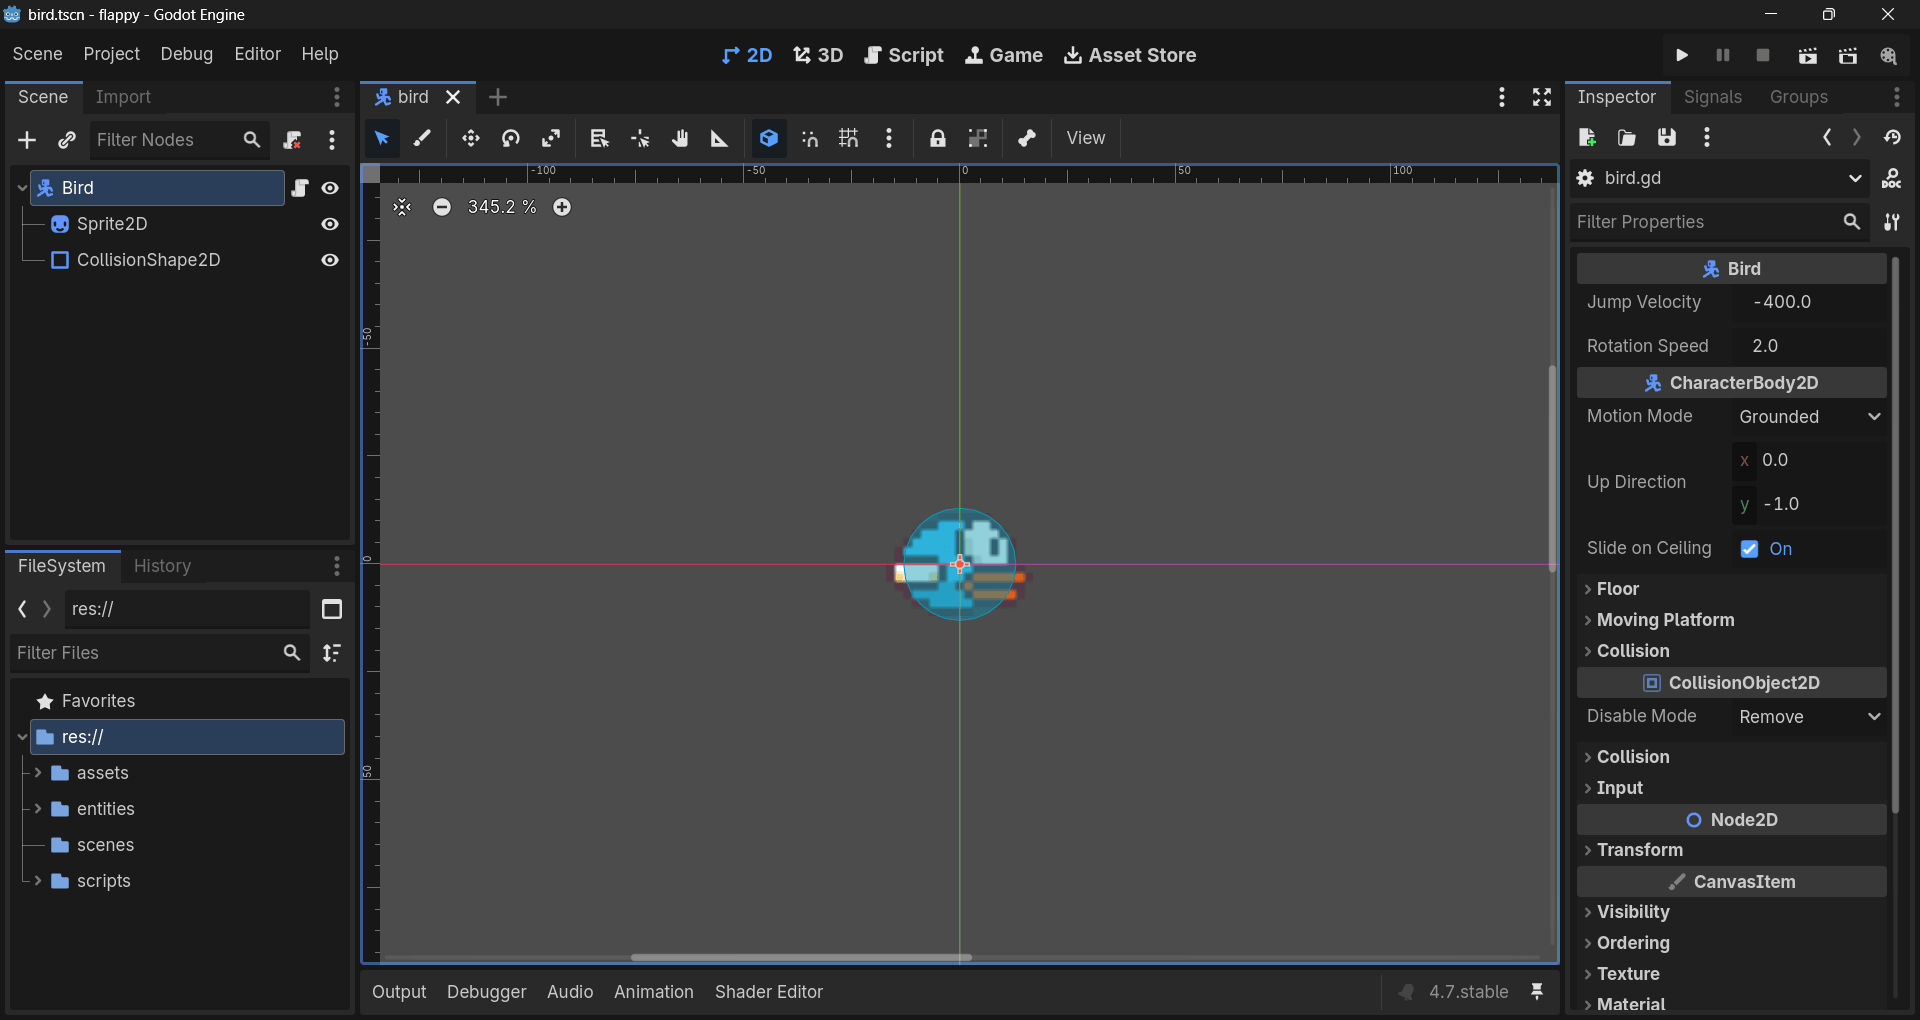
- 🐦 Bird (
CharacterBody2D)- 🟩 BirdSprite (
Sprite2D- Add a simple placeholder texture for now) - 🟢 CollisionShape2D (Use a CircleShape2D and match it to your sprite)
- 🟩 BirdSprite (
Why CharacterBody2D instead of RigidBody2D? While a RigidBody2D natively handles gravity, Flappy Bird requires an instant velocity override when the player flaps, instantly canceling downward momentum. CharacterBody2D makes overriding this velocity much cleaner and prevents "mushy" controls.
3. The Flap Controller Script#
Attach a new GDScript to the Bird root node. We will use _physics_process to apply gravity consistently and listen for our flap input.
extends CharacterBody2D
class_name Bird

@export var jump_velocity: float = -400.0
@export var rotation_speed: float = 2.0

# Get the gravity from the project settings to be synced with RigidBody nodes.
var gravity: float = ProjectSettings.get_setting("physics/2d/default_gravity")

func _ready() -> void:
	# Ensure the bird starts with zero velocity
	velocity = Vector2.ZERO

func _physics_process(delta: float) -> void:
	# 1. Apply Gravity
	if not is_on_floor():
		velocity.y += gravity * delta

	# 2. Handle Flap Input
	if Input.is_action_just_pressed("flap"):
		# Directly set velocity.y to instantly cancel downward momentum
		velocity.y = jump_velocity

	# 3. Apply Movement
	move_and_slide()

	# 4. Polish: Add visual tilt based on vertical velocity
	if velocity.y < 0:
		# Flapping up: tilt upwards
		rotation = lerp_angle(rotation, deg_to_rad(-30), rotation_speed * delta * 5.0)
	else:
		# Falling: tilt downwards
		rotation = lerp_angle(rotation, deg_to_rad(90), rotation_speed * delta)